Galaxy Nexus phone comes with a lot of different firmware variants which are updated by Samsung except three which are maintained by Google. If you are fortunate to get a Nexus phone with Google maintained firmware, you will receive updates over the air (OTA) as soon as new releases are made. Samsung releases are usually delayed and will end up in long and frustrated waiting. My phone had a Samsung variant of Icecream Sandwich (4.0.2). However, one need not be frustrated about it, we can unlock the bootloader, update to Google maintained firmware and lock the bootloader when completed.
Different Variants
Given below is a list of firmware variants currently in use in different countries, carriers and different models of the phone.
GSM/HSPA+ Models
takju— US region and carrier-independent firmware released on models sold in the US through the Google Play Storeyakju— International region and carrier-independent firmware released on models sold throughout western Europe.yakjudv— Variant for Australiayakjujp— Variant for the Middle Eastyakjukr— Variant for South Koreayakjusc— Variant for Japanyakjuux— Variant for Canadayakjuvs— Variant for Brazilyakjuxe— Variant for Russia and the former Eastern Blocyakjuxw— Variant for certain carriers in Western Europeyakjuzs— Variant for China and Hong Kong
CDMA/LTE Models
mysid— Variant for Verizon in the USmysidspr— Variant for Sprint in the US
Firmware Updated by Google
Google updates the following firmware variants:
takjuyakjumysid
How I Did
My phone had a firmware variant, yakjuxw which was meant for certain carriers in Western Europe and not updated by Google. The simple way to find the phone’s firmware is to install Android System Info from Google Play onto the phone, launch the application, go to System > BuildInfos which will provide a screen like the one in the screen shot.
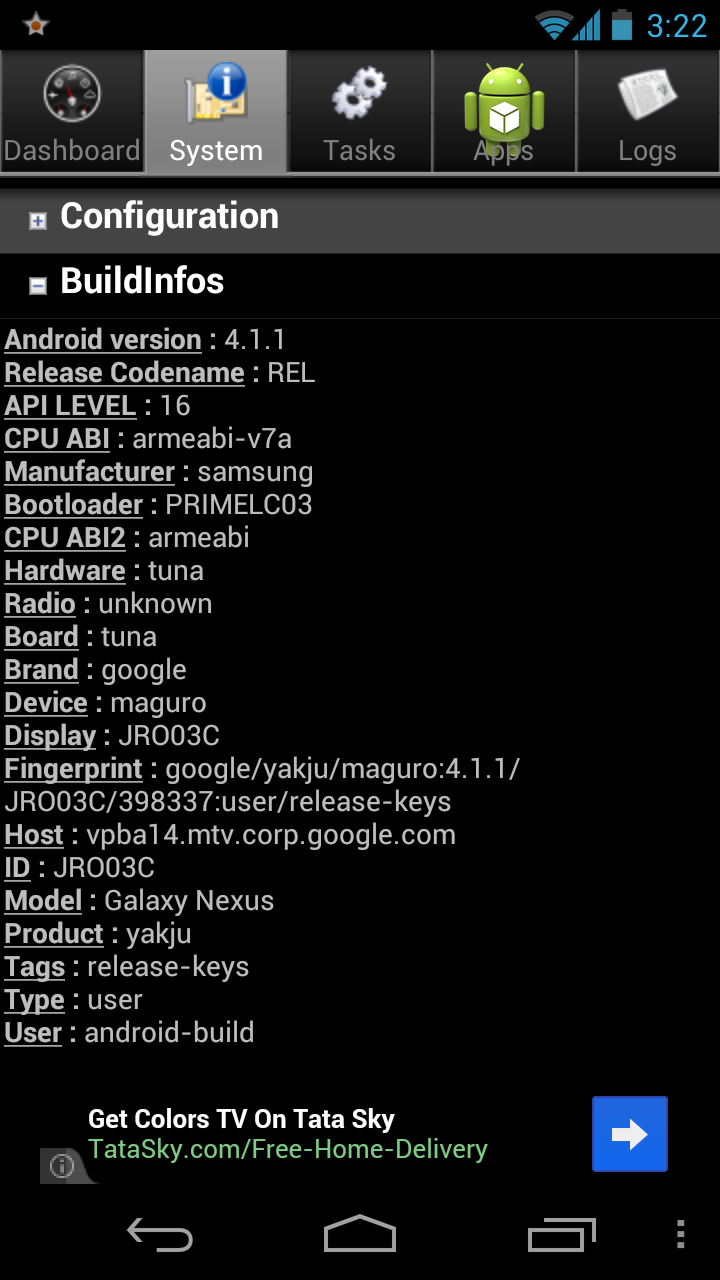
Look for Product (fourth line from bottom of the list) which tells you the firmware installed. In my case, it shows yakju, since I took the screen shot after upgrading to Jelly Bean.
We need two binaries namely fastboot and adb which can be downloaded from here for Linux and Windows; and from here for Mac OS X. I compiled the binaries in my Linux box from sources downloaded from here. fastboot is to communicate with the phone from computer when the phone is in fastboot mode while adb is to do the same when the phone is in normal mode.
Next step is to download factory images yakju of Galaxy Nexus from Google.
Here goes the step by step upgrade process.
Unzip the archive for IMM761 which will explode by creating a directory, yakju-imm76i. Change working directory to yakju.imm76i. Unzip the zip archive, image-yakju-imm76i.zip (there will be a zip archive by this name inside the tarball) which will provide, boot.img, recovery.img, system.img, userdata.img and android-info.txt. Connect the Galaxy Nexus phone to the computer through USB. Issue the following commands from the prompt:
adb devices(This will check if the device is connected. You will see complex alpha-numeric product code.)adb reboot-bootloader(reboots your device into fastboot mode.)fastboot devices(same asadb devices)fastboot oem unlockfastboot flash bootloader bootloader-maguro-primela03.img(file name may change depending upon the ROM.)
ROM.)fastboot reboot-bootloaderfastboot flash system system.imgfastboot flash userdata userdata.imgfastboot flash boot boot.imgfastboot flash recovery recovery.imgfastboot erase cachefastboot reboot
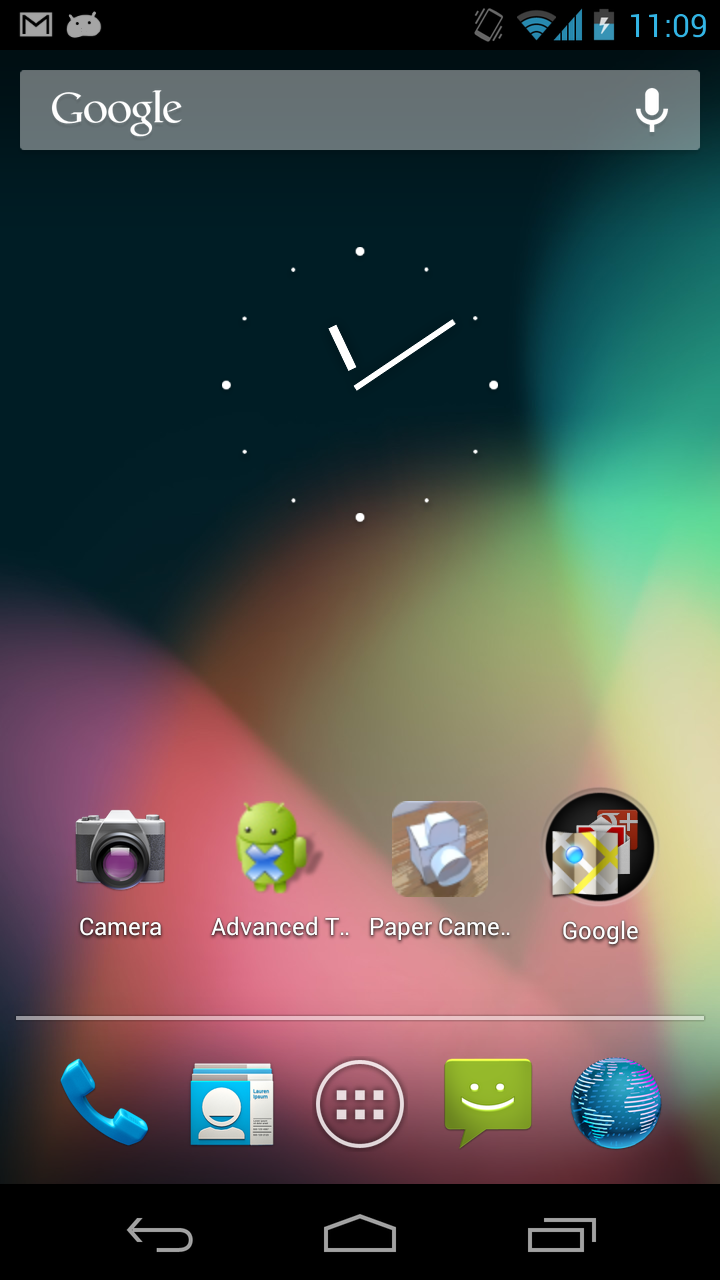
If you have completed all the above steps, you have upgraded the ROM to Google-maintained yakju version 4.0.4. Similarly, repeat the same steps for JRO03C. Once done, you will find your phone rebooting to Jelly Bean.
You can lock the bootloader again if you want by issuing the command:
fastboot oem lock
before rebooting the device with fastboot reboot.